Finally! I've overcome my fear of putting a color rinse in my hair :o) I'm officially back to jet/midnight black again and I LOOOOOOVE it!!!!!!!
I was really worried that I didn't know what I was doing and that I may experience slippage, but thankfully all is in tact *big smiles*.
Before applying my rinse, I tried to research videos and blogs of how you perform a rinse on sisterlocks and all I found were vids and blogs on permanent coloring and traditional locs. Everything I found on SL's only had ladies saying "yeah, I applied a rinse to my locs & this is the result" but there was no description or steps of how they did it and that made me nervous. I know a rinse is much safer than permanent, but I'm someone who is no expert on locs & everything I do other than washing is going to freak me out b/c of fear that something may go wrong. ....I've only given myself a rinse when my hair was relaxed.
But anywho, I just thought about the steps my old beautician did when I used to get relaxers and applied it the way she did....minus the relaxer of course ;o)
PRODUCTS:

~Clairol's Beautiful Collection: Midnight Black {always used this color when I had a relaxer & your hair smells good afterwards}
~SL Starter Shampoo diluted w/ water in a dispenser bottle {the spray bottle was broken :-/}
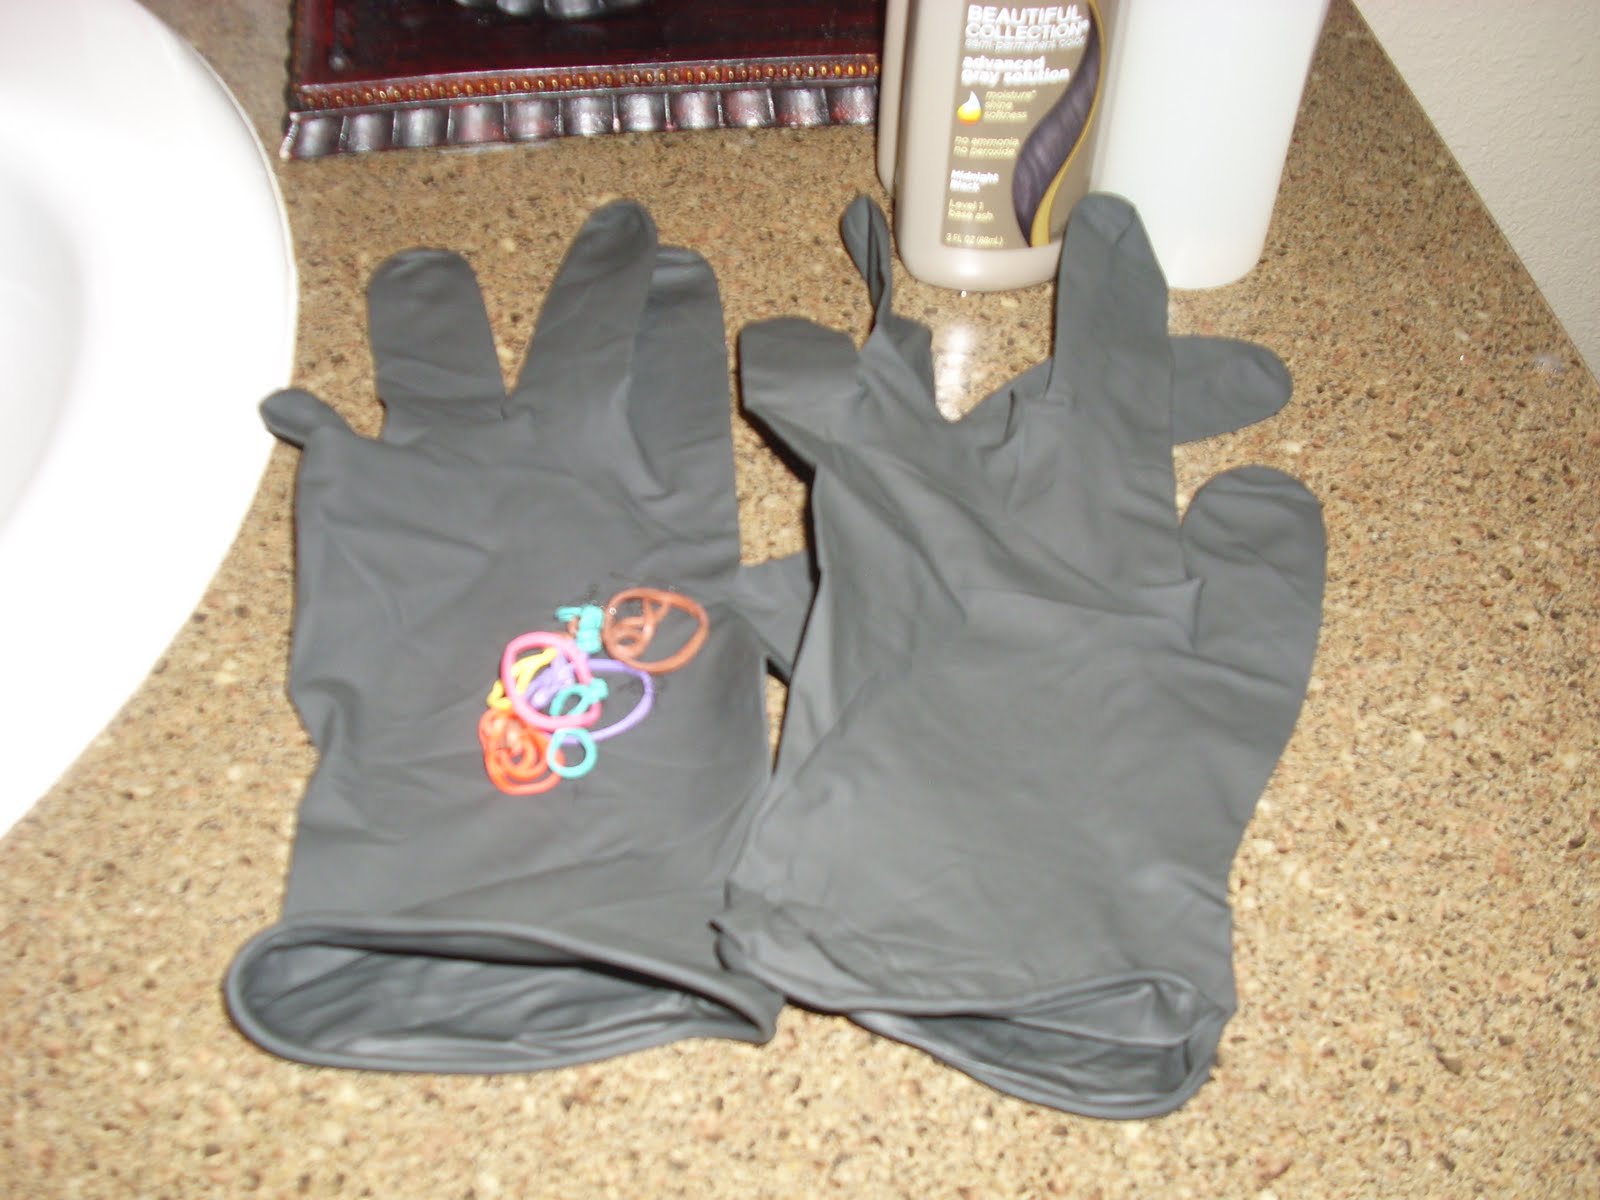 |
| ~Black gloves {doesn't matter what color you are using} and rubber bands to section off my relaxed ends from my locs |
DIRECTIONS:
1. Wash hair 1st {only have permission to use the SL starter shampoo, so that's what I used. Also, this is the ONLY time I get the green light to wash my hair without braiding & bundling}
2. Towel dry {dark colored towel} and part sections of locs so you can dispense color rinse evenly. {Since I have relaxed ends, the rubber bands were also used to separate my relaxed ends from my locs....could only dispense color where my locs began & ended to prevent unraveling.}
5. Unfortunately I forgot to put my gloves back on, but when you do, rinse your hair again with a good shampoo and rinse until the water runs clear from your hair....my beautiful french tip nails were turned green :o(
6. After towel drying again, I parted my locs in sections and separated them individually to prevent tangling & bunching {thank God I did that!}...As I separated my locs, I went ahead & started to braid and bundle as if I was getting ready to wash it. I made smaller bundles to have a tighter crinkle....I'll admit, this was very tedious, but the outcome was for the best :)
7. This step does not have to be done, but I sat under the dryer again for 30min to make sure my hair would be dry by the next day {my hair holds water}.
8. I wrapped my hair with a satin scarf first and a cotton bandanna after...the bandanna holds my satin scarf in place & it always prevents color from seaping onto your pillows....one of the cons of when you first get your color rinse.
BEFORE


Dusty, reddish-brown hair

AFTER


Back To Black!!!!!! :o)
DIFFERENCES

This picture helped me distinguish where my natural hair ended and where my relaxed hair began...this is from the front part of my head where the majority of my hair is relaxed..the back is more natural due to my bob cut prior to locs.
No comments:
Post a Comment